
 |
| Styrospline |
I plan to use the splines at three places. The new roadbed I'll need at Tunnel Hill (Gallitzin), the flyover at EF (HOMER) and the approach to Kittanning (Horseshoe) Curve. I may use it at Sugar Furnace where the New Portage branch passes under the eastbound mains. Which brings us to our second drawing...
 |
| Styrospline Locations |
Someone out there is asking..."If this is such a great idea why not use it everywhere?" I could, but I really don't want to rebuild ALL the roadbed. Done that a few times already. Besides, the idea doesn't really work for the flat areas on the All East. If I was gonna use it there I could just purchase a 4' x 8' slab of 2" thick styrofoam. That would put Keystone and the yard area two inches higher than present and would cost about $120.
Anyway...
I laid out the eastbound roadbed and track through Harrowgate and EF to get an idea of what was happening...
 |
| Harrowgate Eastbound Roadbed |
 |
| EF Track Layout |
Looks good so far, but needs tidying up. After fussing over the rail joints at the approach till they were perfect (as I can get them) I also installed Level 2 of the helix and weighed it down till the glue set...
 |
| Helix Level 2 |
With these two steps out of the way I started cutting up some styrosplines from a 4' x 8' sheet of 1/2" extruded foam...
 |
| Styrospline Cutting "Jig" |
I really should make a more accurate jig for cutting these things, but for now I'm just using a metal straightedge and a razor blade. I use the width of the straightedge to size each piece, about an 1 1/2". I cut along the length of the sheet about 6" at a time using several light passes. The short, light cuts give me better control so the cut is a bit straighter. The straightedge is only 48" long so I have to slide it along a number of times to cut the full 96". You could probably use a table saw for this and get long straight cuts. You would also get a garage full of foam smeg that sticks to everyone and everything. The razor blade is slower, but a lot cleaner. It didn't really take me that long to cut 16 8' splines with a half sheet of foam left in reserve...
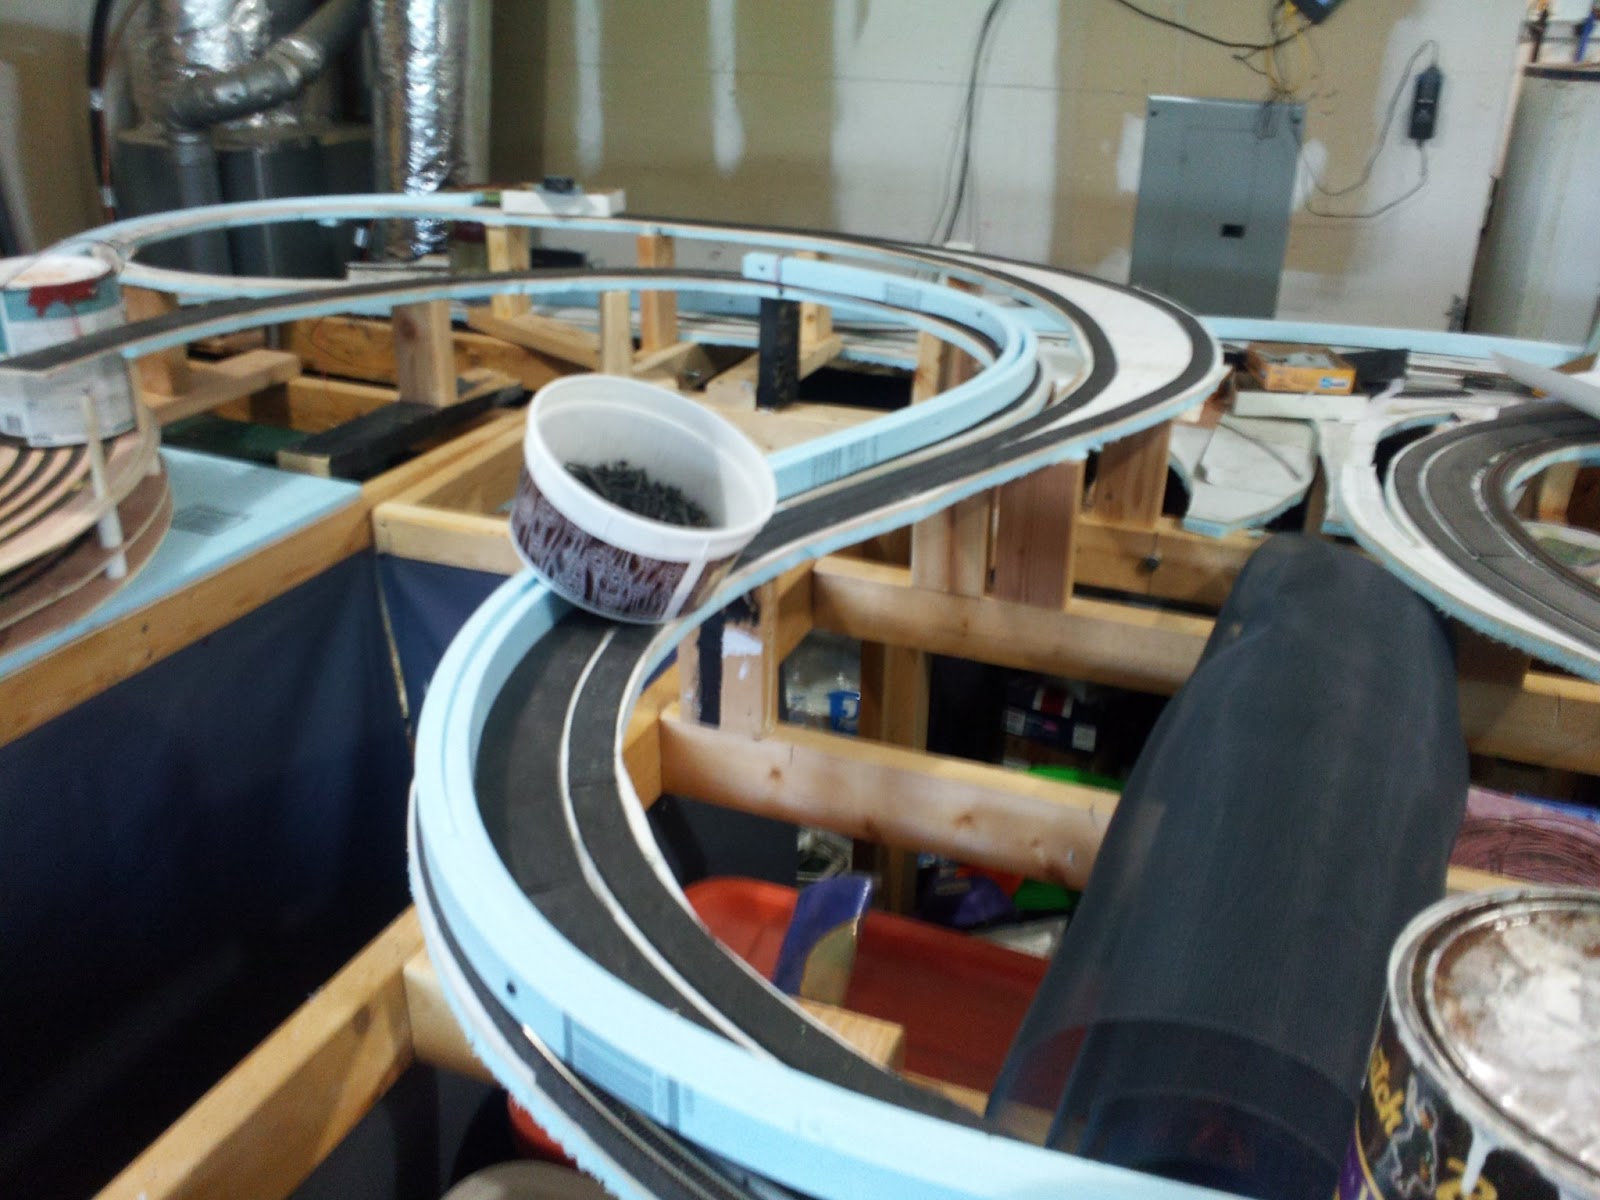
The first area I hit was the approach to Kittanning Curve. I used 8 of the splines to make four track roadbed. For layout purposes I just "clamp" them together by pushing a long drywall screw through the foam. When being formed they can be curved pretty tight without breaking .They can also create long sweeping curves. The splines are extremely flexible and once laminated together very strong , far stronger than required for N scale trains, track and scenery...
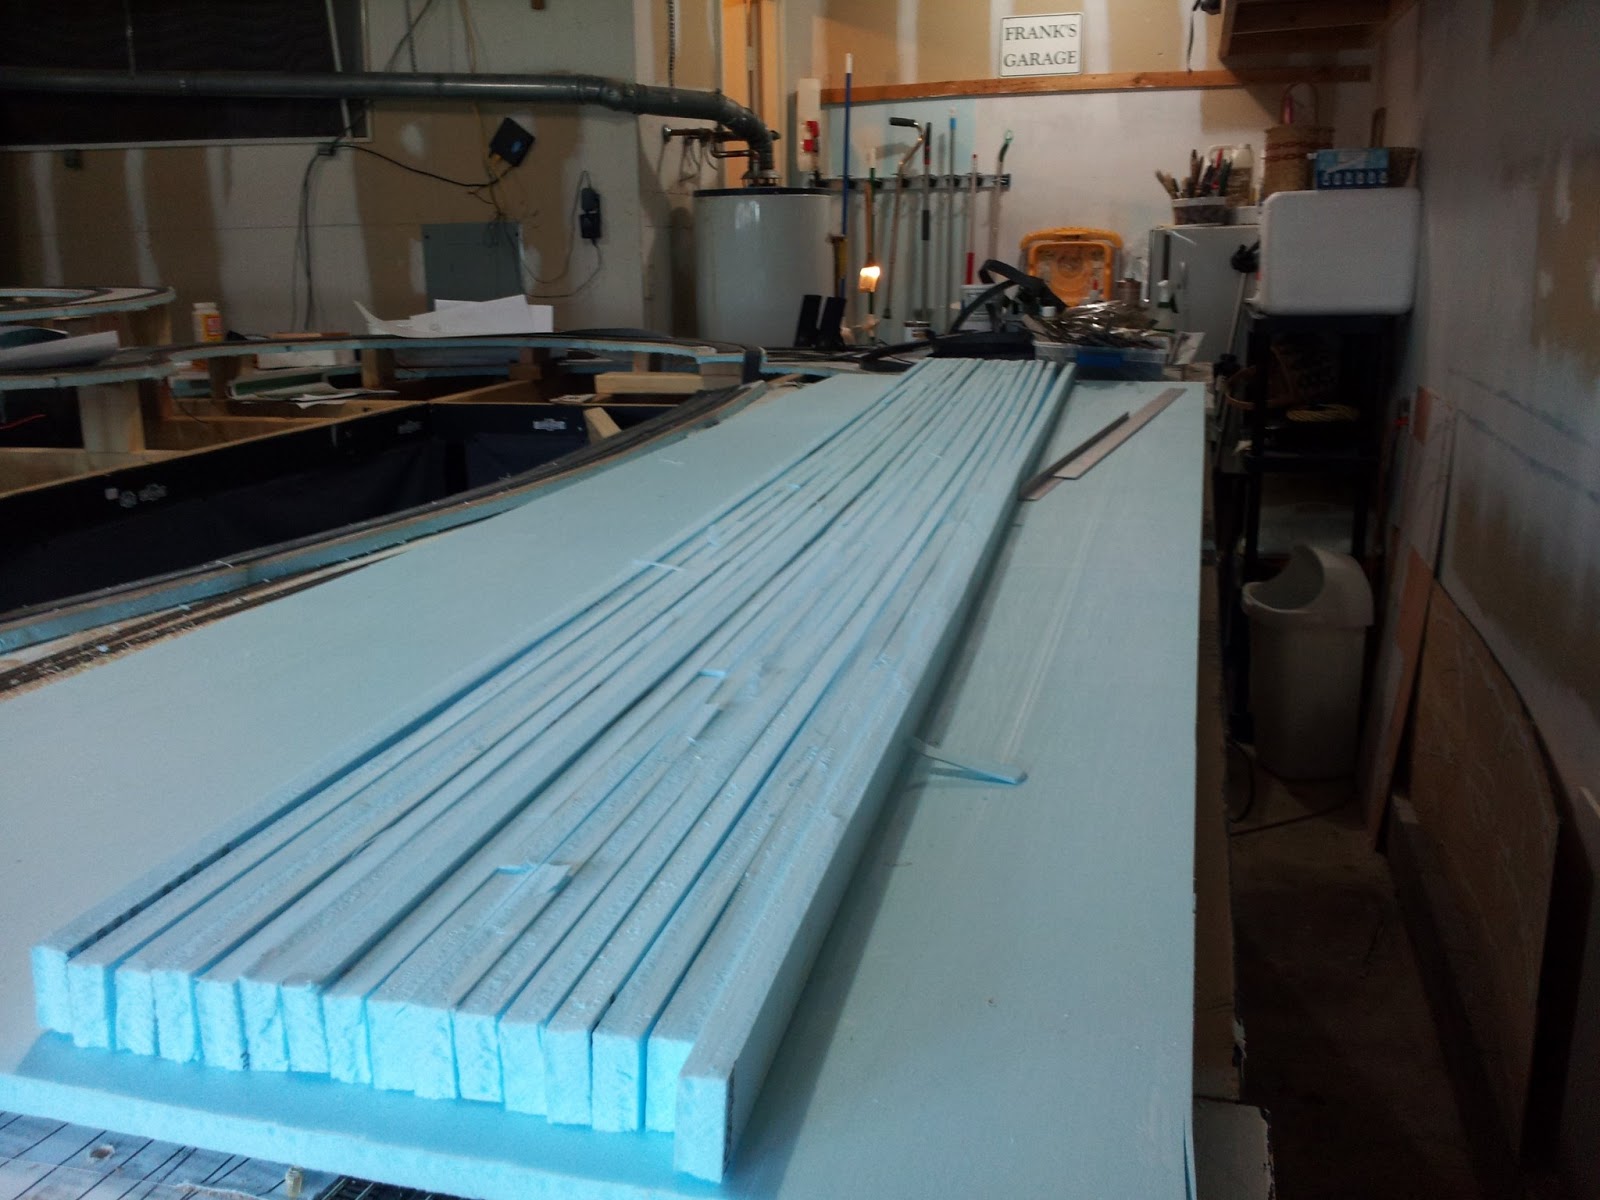 |
| 16 96" Long Splines |
The first area I hit was the approach to Kittanning Curve. I used 8 of the splines to make four track roadbed. For layout purposes I just "clamp" them together by pushing a long drywall screw through the foam. When being formed they can be curved pretty tight without breaking .They can also create long sweeping curves. The splines are extremely flexible and once laminated together very strong , far stronger than required for N scale trains, track and scenery...
 |
| Spline at Kittanning, Looking East |
 |
| Spline at Kittanning Looking West |
 |
| Westbound Mains at Tunnel Hill |
I also laid one out at EF. The entire flyover can be done with two splines...
 |
| Flyover at EF |
The actual splines I will use here will need to be shaped for the grade. I've done a short grade on a previous version of the All East and it came out well. The graded roadbed on either side of the "tunnel" over the passenger mains is 50" long. The grade is steeper than I would like, 1 1/2 in 50. That's over 2% but there are space constraints.
The last place I laid out was the flyover at Remington where the New Portage branch passes under the eastbound tracks...
 |
| Remington Flyover |
I had mentioned earlier that I wouldn't want to rebuild all the roadbed. Looking at how well this is working out I might be tempted to do that. No...Better stop thinking like that now, while I'm still ahead.
Now that I'm moving forward again things are happening faster than I thought. Of course it helps that I'm retired. Not much money, but oodles of time to spend on my hobbies.
Regards,
Frank Musick
Chief Cook and Bottle Washer
| Allegheny Eastern Railroad |
No comments:
Post a Comment