As I mentioned last time I've been reading the book Triumph I. I've gotten to the part where Edgar Thomson and his surveyors face the Allegheny Front, the eastern side of what was then the "Continental Divide". Despite all the "work of the age" and world famousness touting Horseshoe Curve, Thomson was more concerned with the western approach. More tonnage would travel eastward and he needed a gentle grade up the west slope. The valley of the Conemaugh River was made to order. The infant Pennsylvania had already made its way up the Conemaugh east from Johnstown. On the east slope tracks had reached the present day location of Altoona but diverged southwest through Hollidaysburg and Duncannon. This was a long and torturous row to hoe. Thomson had to find a better way to come east over the summit.
So I'm standing in my garage and, in a way, facing quite the same situation. I'm at the highest point on the Allegheny Eastern, The helix just west of Gallitzin. The helix represents the climb up the west slope along the Conemaugh. The "Allegheny Front" is layed out before me, vanishing into the early morning light in the distance. Like Thomson, I have to create a reasonable grade down to the valley floor. Unlike Thomson, my job is a helluva lot easier. For one, I can see the entire route from this single vantage point. Secondly, the right of way is already complete. I just have to create a grade.
 |
| The "Allegheny Front" |
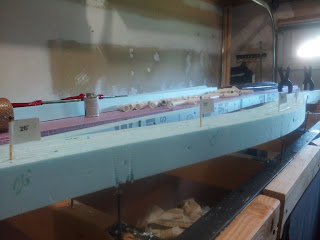
As I've mentioned repeatedly, one advantage to the styrofoam spline is that I can build the entire route as one contiguous structure. Because it's so light I can lift it as a whole ( I believe this would also work with any lightweight spline construction). As a result, I can tailor the descent to whatever grade will fit in the space allotted. As I did on an earlier version of the All East I marked the right of way in 1' increments. This time, however, I set 0' at the top of the climb. This will enable me to work backwards, finding the location of the bottom of whatever grade I choose to create.
 |
| "Mileposts" |
The photo shows little flags at each "milepost". This is not SOP. I usually just mark the roadbed with a Sharpie. I thought the little flags might make the mileposts easier to see.
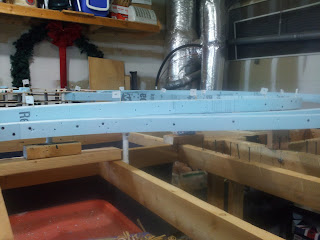
I measured the eastbound side of the roadbed because it will have the steepest grade. Due to the greater length of the westbound trackage, the percentage of the uphill grade will be lower, just as it in the prototype. The eastbound grade will also feature the "slide" at Bennington that PRR engineers had to deal with on downhill trains. This was not intentional, it actually happened as a consequence of raising the eastbound tracks at SF to allow the New Portage branch to pass underneath. One of those "serendipity" kinda things.
 |
| Bennington: "The Slide" |
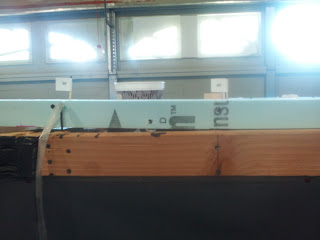
By measuring and marking the track I found that the proposed location of SLOPE actually lies a little better than a scale mile downhill. At 40' it translates to about 1.2 scale miles from the "summit". Since the railroad climbs 8" in 480" the resulting grade is 1.6%. This is less than I expected and pretty much the same as the climb in the helix (8" in 484"). The whole scenario is much better than I hoped for.
 |
| Transition at SLOPE |
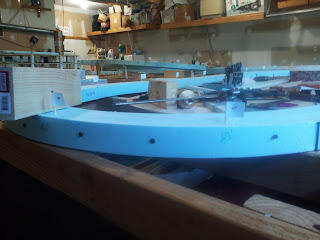
The markings at every foot also allow me to locate my supports. The PVC smokejacks are to be spaced on 12" centers. This also shows me what needs to be added to the bench work to provide support for the sockets that hold the uprights. At Bennigton, for example, I was able to use a cross member of the benchwork to support the roadbed at MP10. At MP11, however, I had to throw a "spanner" across the grid. I then placed a short block above that to make sure the socket was held by both screws. Notice the spanner does not rest between the crossmembers. There really is no reason to mount it that way, unless you're crazy about esthetics. Mounting it as shown makes for ease of attachment.
 |
| Support and "Spanner" at Bennigton |
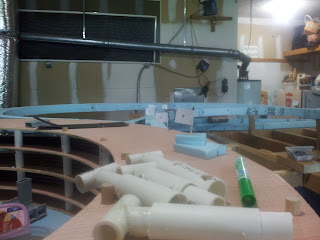
At "milepost" 0' and 1 support is provided by the plywood of the helix approach. This section of the roadbed is actually level 3.5 of the helix itself and rests on top of the posts of that structure. The first smokejack is located at the 2' mark...
 |
| Milepost 0 |
Not all the roabed is on vertical supports. The level sections at Altoona and on the East Side are laying right on the benchwork. It is screwed directly to the crossmembers. I drive the screws in just far enough to bury the heads. The foam is also glued to the crossmembers. Although most all of the crossmembers are spaced on 12" centers there are still places where spanners are required. Brickyard Curve at the west end of Altoona is a good example...
 |
| MP 45; Brickyard Curve |
Here, out of necessity, the spanner is cut to suit and fitted between the Bbenchwork crossrails. Two more spanners are required here as all three supports fall into the space between cross pieces...
 |
| Brisckyard Support Locations |
I've been jumping about haphazard instead of working continuously downhill in an effort to present an overall view of the grade construction. In the next "edition" the smokejacks will all be in place (I hope) and I'll start fine tuning the grade.
By the way please excuse the poor quality of the images. I'm wearing my spare glasses and it's hard to see if the image is in focus. The strong sunlight pouring.through the garage windows isn't helping either.
Regards,
Frank Musick
Chef Cook and Bottle Washer
 |
| Allegheny Eastern Railroad |


No comments:
Post a Comment